I’m a Seattle Kraken fan, and l-o-v-e-d the Winter Classic jersey and logo for the game against Vegas on January 1st, but couldn’t find anything that I could print so decided to make my own file (and learnt how to do this, which feels like it would be useful in the future!) I used websites that were free to use as well, so this should be easy for anyone to try! Here’s the step by step process, in case you have a logo or something you want to break down.

First, I had to make my own large copy of the logo because I couldn’t find one (but if you were going to do this for a different logo, see if you can get a high quality PNG image or even an SVG file) I did this by finding the largest image I could, cropping it down to just the actual part I wanted and removing the background – if you don’t have Photoshop, etc, then pixlr.com is really useful. As you can see the colour image, I also changed the colour of the outline of the S so it could be separated from the letters in the middle. (When doing this with a more complicated image, I’ve used onlinepngtools.com to reduce the amount of colours in the image, which will make sense shortly!)
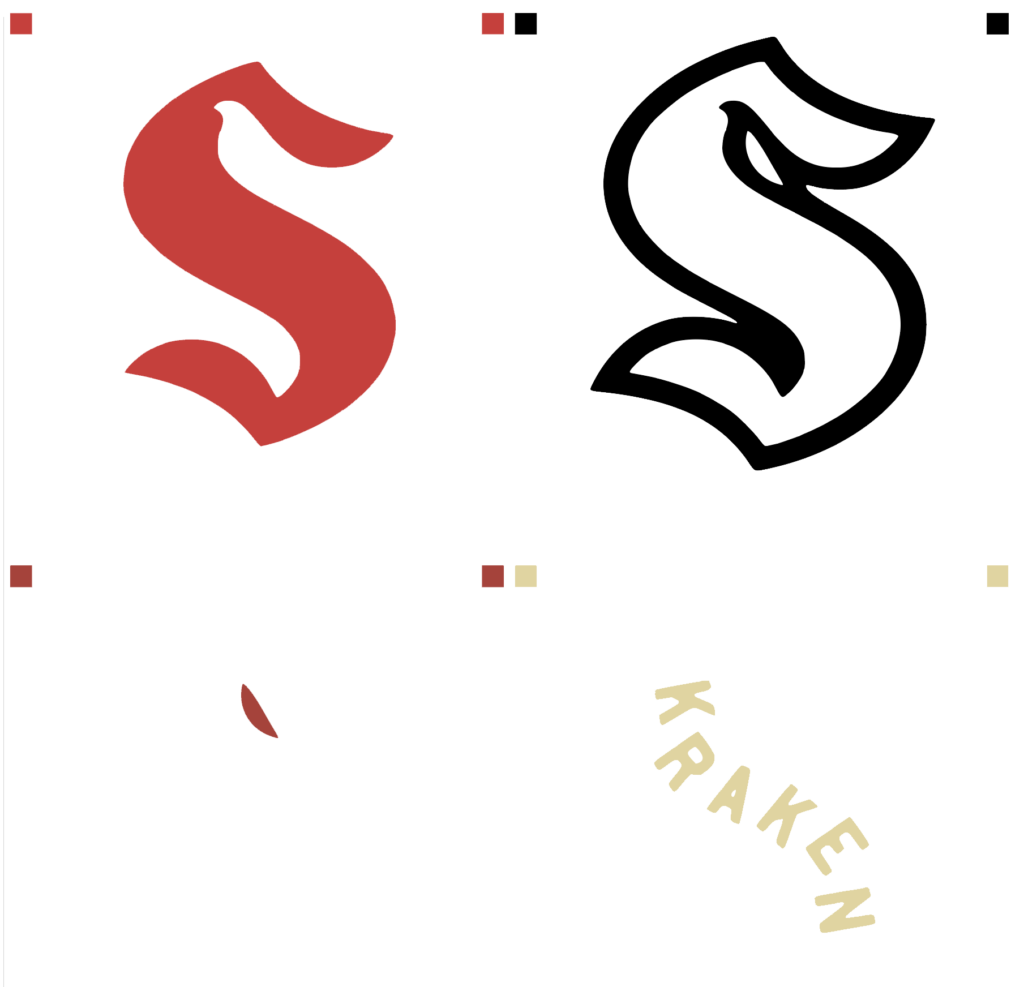
After I had an image I was happy with, I uploaded it to pngtosvg.com – this site is really useful if you use a Cricut/Silhouette type machine, as it will take an image and strip it down so each colour in the image is separated so you could cut them out of coloured vinyl and the squares in the top corners of each colour would allow you to line them up correctly
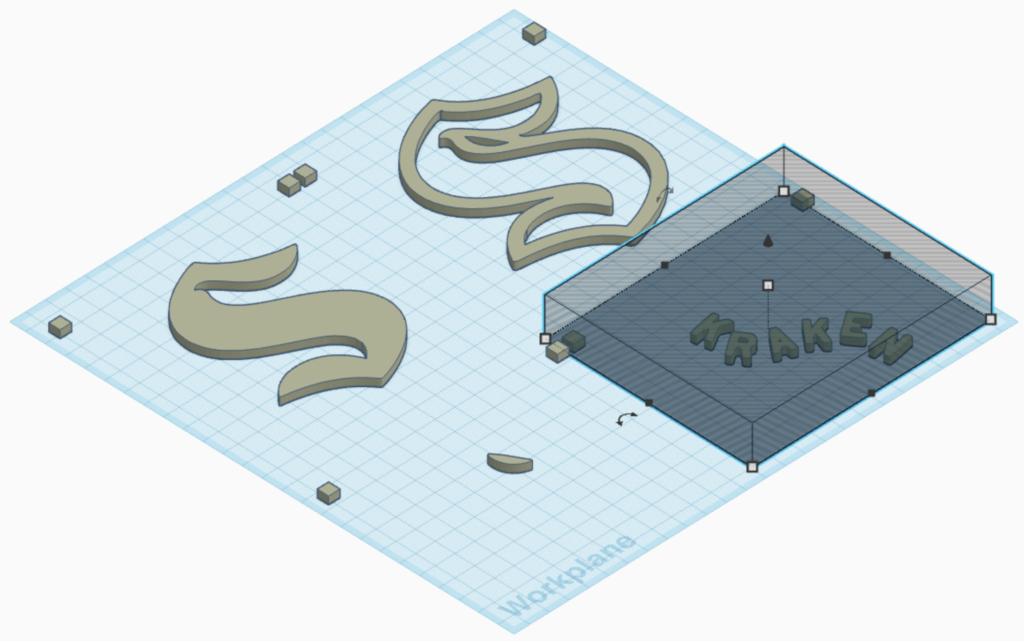
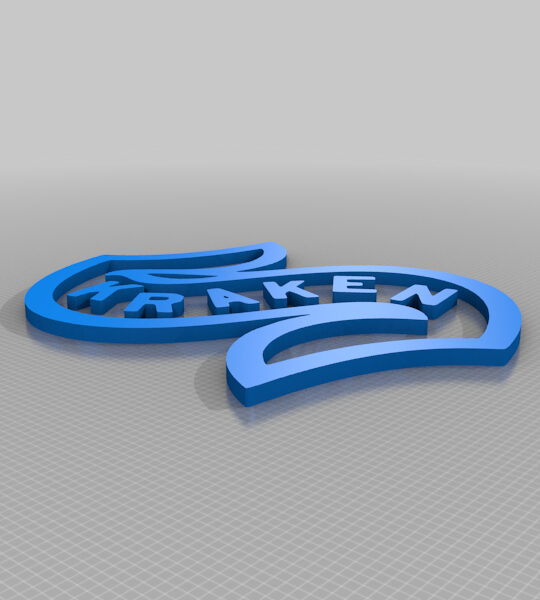
Once I had the colours separated out, I just needed to make the 3D file. The way that I did it isn’t especially high tech but it worked! I opened up tinkercad.com (my favourite place to start when creating a 3D file) and imported the SVG file into a new 3D design, and then used the hole shape (in the screenshot, thats the grey striped shape) to cover up everything, leaving a specific part of the logo. I repeated that four times, for each of the four parts
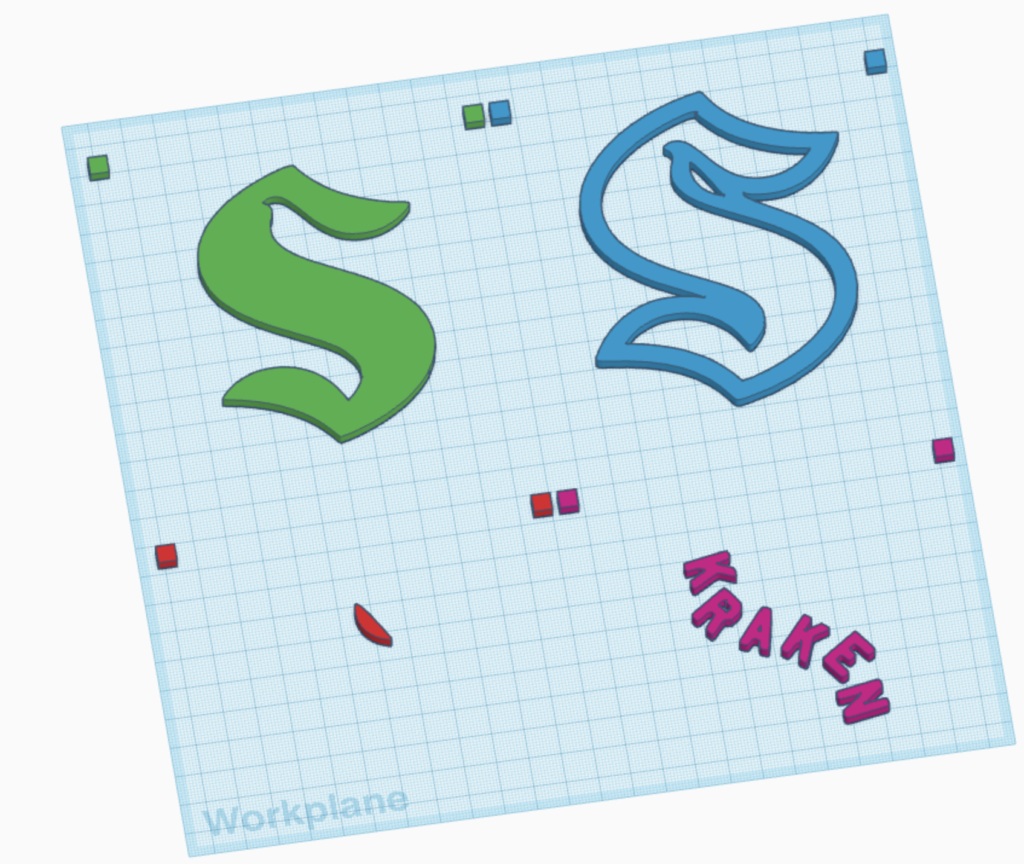
That was basically it – from there the file was able to be downloaded separately so you could print the separate parts and I also combined all of the parts together again and gave each layer slightly different heights (0.1mm differences) so it would easy to colour in for multi coloured prints. I left the square anchor blocks on the logo parts to make it easier to align them all for the combined piece, but after I had that finished, I used the hole shape again to remove these so they didn’t print
I uploaded the file to Thingiverse in two versions – one solid file with varying heights so it was easy to colour the different parts in Bambu Studio, and then separate files for each part of the logo in case that was more useful for others!
